Exposure for Bird Photography: Settings That Work in Manitoba
Good exposure for bird photography comes down to one rule: freeze the bird first, then worry about everything else. Birds are small, fast, and often lit badly, so settings that work for landscapes or portraits will give you blur or noise.
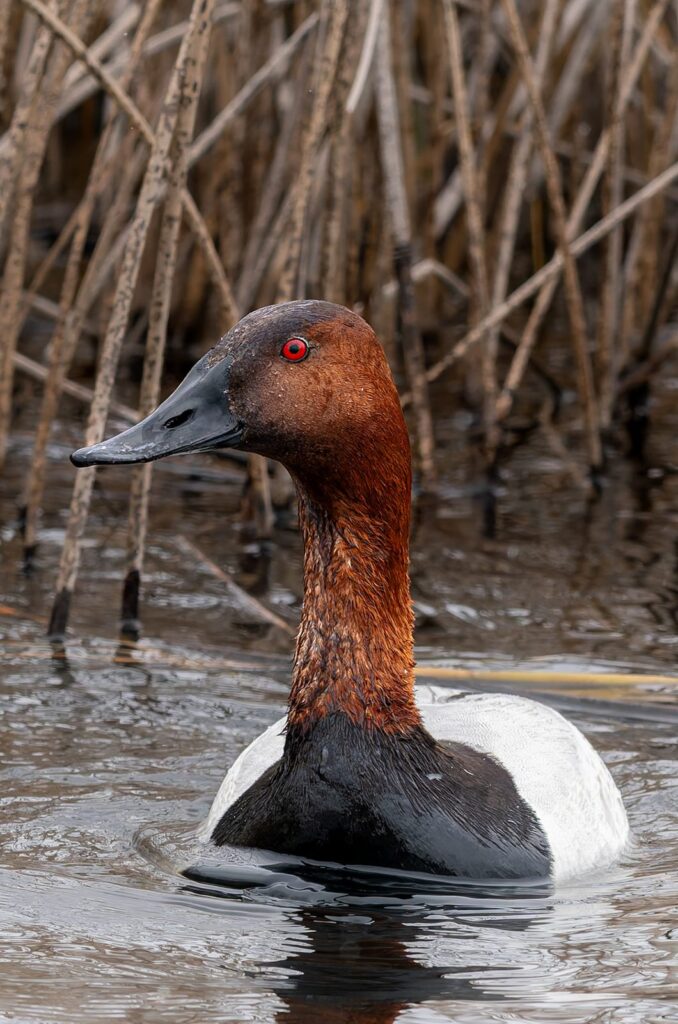
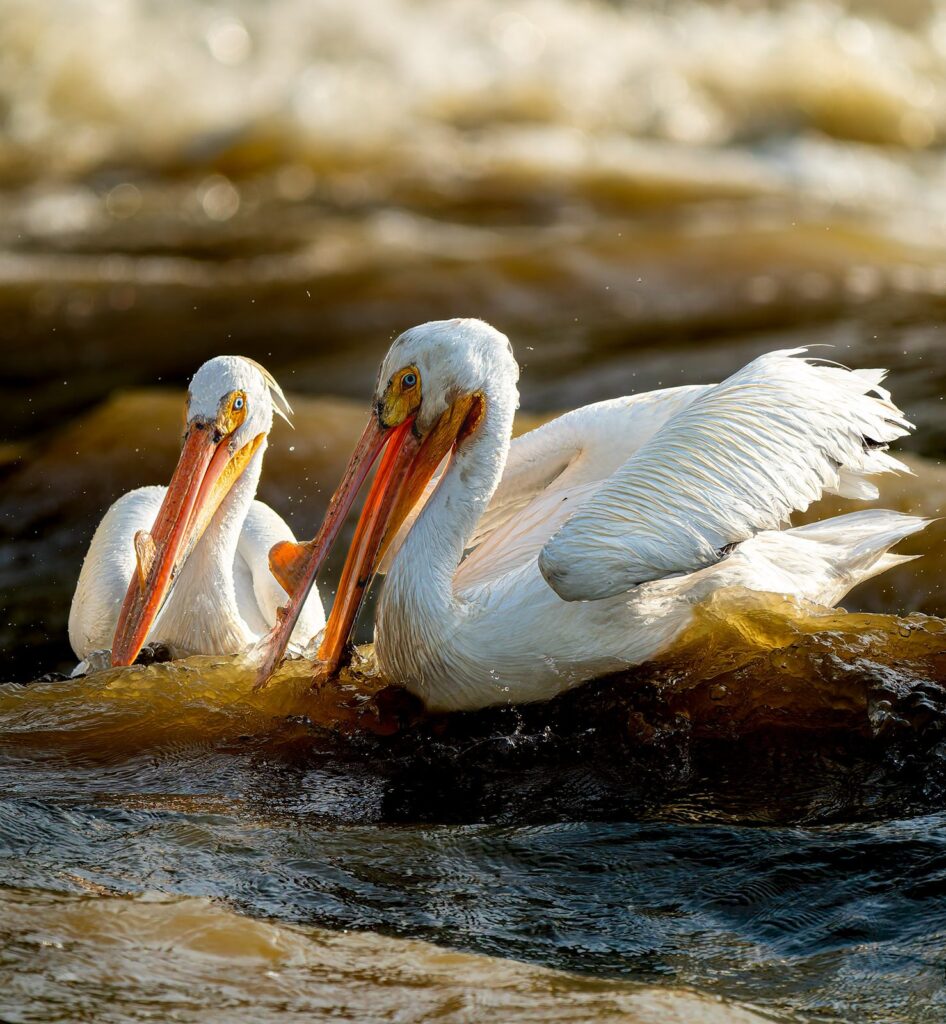
This article covers exposure for bird photography in the real light you meet in Manitoba: bright prairie sun on white pelicans, dark ducks on glaring water, and snow in winter. It builds on the gear in my guide to Manitoba bird photography gear. Three settings control exposure: shutter speed, aperture, and ISO. For birds, you set them in that order.
Exposure for Bird Photography Starts With Shutter Speed
A sharp bird needs a shutter fast enough to freeze the bird, not just the camera. Image stabilization steadies your lens, but it cannot stop a bird from moving. These are starting points:
In my recent bird photos, shutter speeds mostly fall between 1/1250 and 1/3200 s.
Aperture: Wide Open, or Close to It
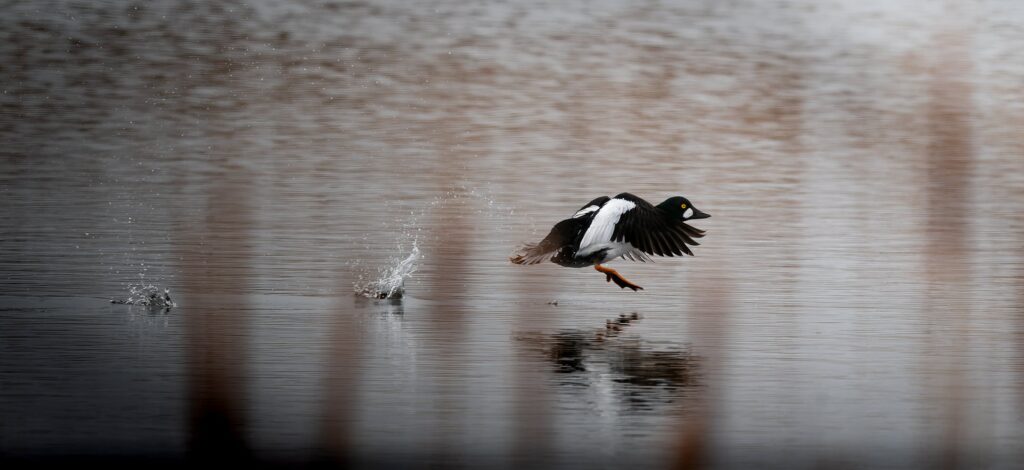
With a long telephoto zoom, your widest aperture is already narrow: f/5.6 to f/6.3 on the 200-600mm and f/6.3 to f/8 on the 400-800mm. For that reason, do not stop down to chase sharpness if it costs you shutter speed. When light is plentiful, however, closing down a stop or so can help. My recent photos mostly sit between f/6.3 and f/10.
ISO: Let It Climb
ISO is the setting you give up first, because noise can be cleaned up in post and a blurry photo cannot. I shoot with Auto ISO, set an upper limit, and let the camera decide. Birds fly swiftly from dark to light and from the ground to the sky, and you do not have time to react. So be intentional about shutter speed and aperture, and let ISO be controlled for you. Newer cameras also handle noise far better than DSLRs did, so you can push ISO much farther than you could in those days.
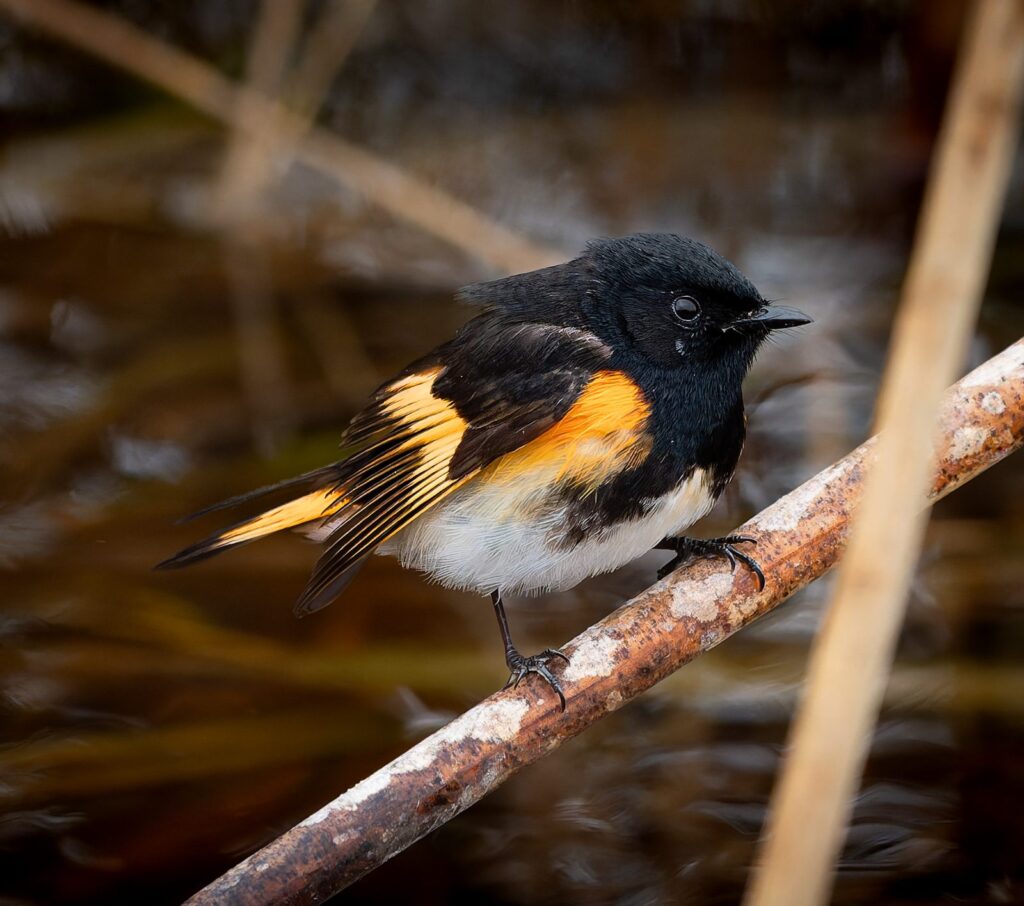
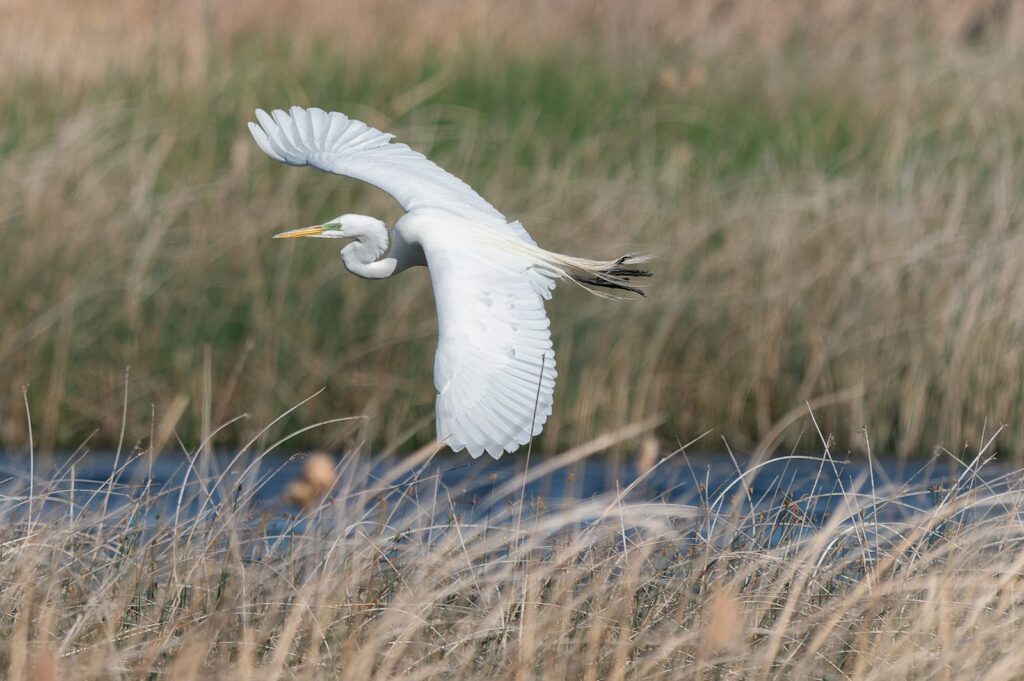
The range in my recent photos runs from ISO 500 on a great egret to ISO 12,800 on an American redstart. I am comfortable going up to 12,800 for the aperture, though I prefer 6400 or less.
Because the camera is choosing ISO, I use exposure compensation to control the shot. If the frame looks too bright or too dark, I dial compensation down or up instead of touching ISO, and the camera adjusts ISO to match. That keeps shutter speed and aperture exactly where I set them.
Exposure Compensation for White and Dark Birds
Your camera’s meter aims for middle grey, so it misjudges birds that are very white or very dark. White birds such as pelicans, swans, and gulls push the meter to overexpose, and you lose feather detail. As a result, dial exposure compensation down by about 0.7 to 1.3 stops, and check the highlight warning or histogram. Dark birds against bright water do the opposite, so dial compensation up. With Auto ISO, this is the dial that steers the shot.
Winter adds another test. Bright snow tricks the meter into making the scene grey, so you need to dial compensation up, but keep an eye on any white feathers.
A Starting Point for Exposure for Bird Photography
Exposure for Bird Photography: Your Questions Answered
What shutter speed should I use for birds?
Start at 1/1000 s for perched birds, 1/1600 to 1/2000 s for small, twitchy songbirds, and 1/2000 s or faster for birds in flight. Use 1/3200 s or faster for fast wingbeats and splashing water.
What ISO is too high for bird photography?
It depends on your camera, but newer cameras handle noise much better than DSLRs did. I am comfortable going up to ISO 12,800 for the aperture, though I prefer 6400 or less.
What aperture is best for bird photography?
Wide open, or about one stop down when the light allows. With the Sony 200-600mm and 400-800mm zooms, that means roughly f/6.3 to f/9.
How do I expose white birds?
Dial exposure compensation down by about 0.7 to 1.3 stops so you keep feather detail, and check the highlight warning or histogram.
Final Thought
Freeze the bird, protect the highlights, and let ISO rise. Once exposure for bird photography becomes instinct, you can spend your attention on the bird. Next week: autofocus.
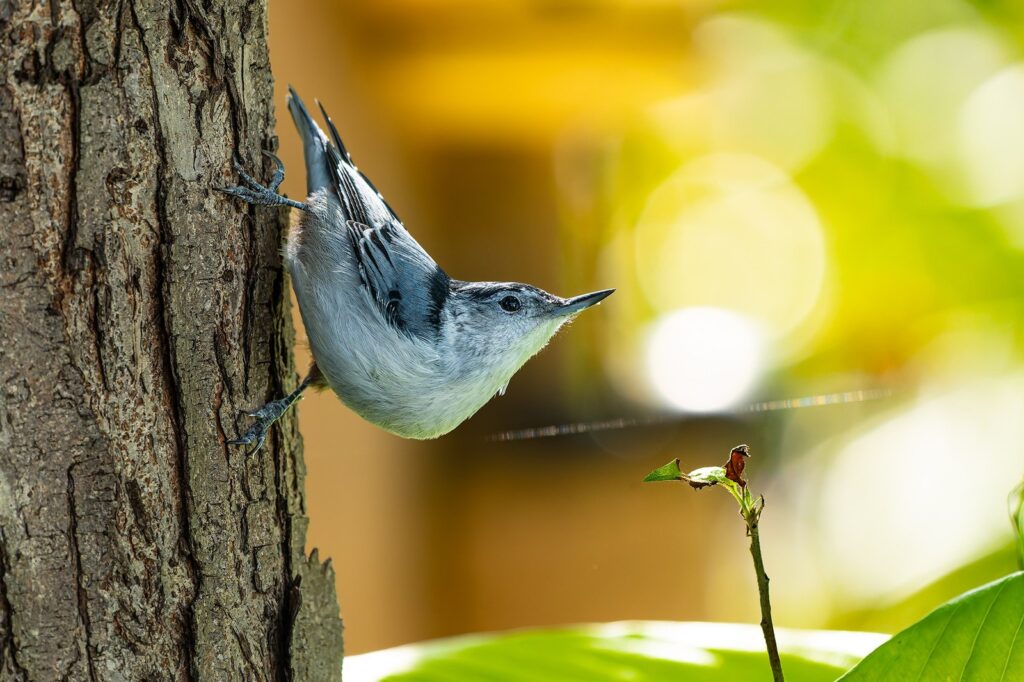
Next in the series: Part 3 covers autofocus basics, including AF modes, focus area selection, and back-button focus, so the camera locks onto the bird instead of the branch.