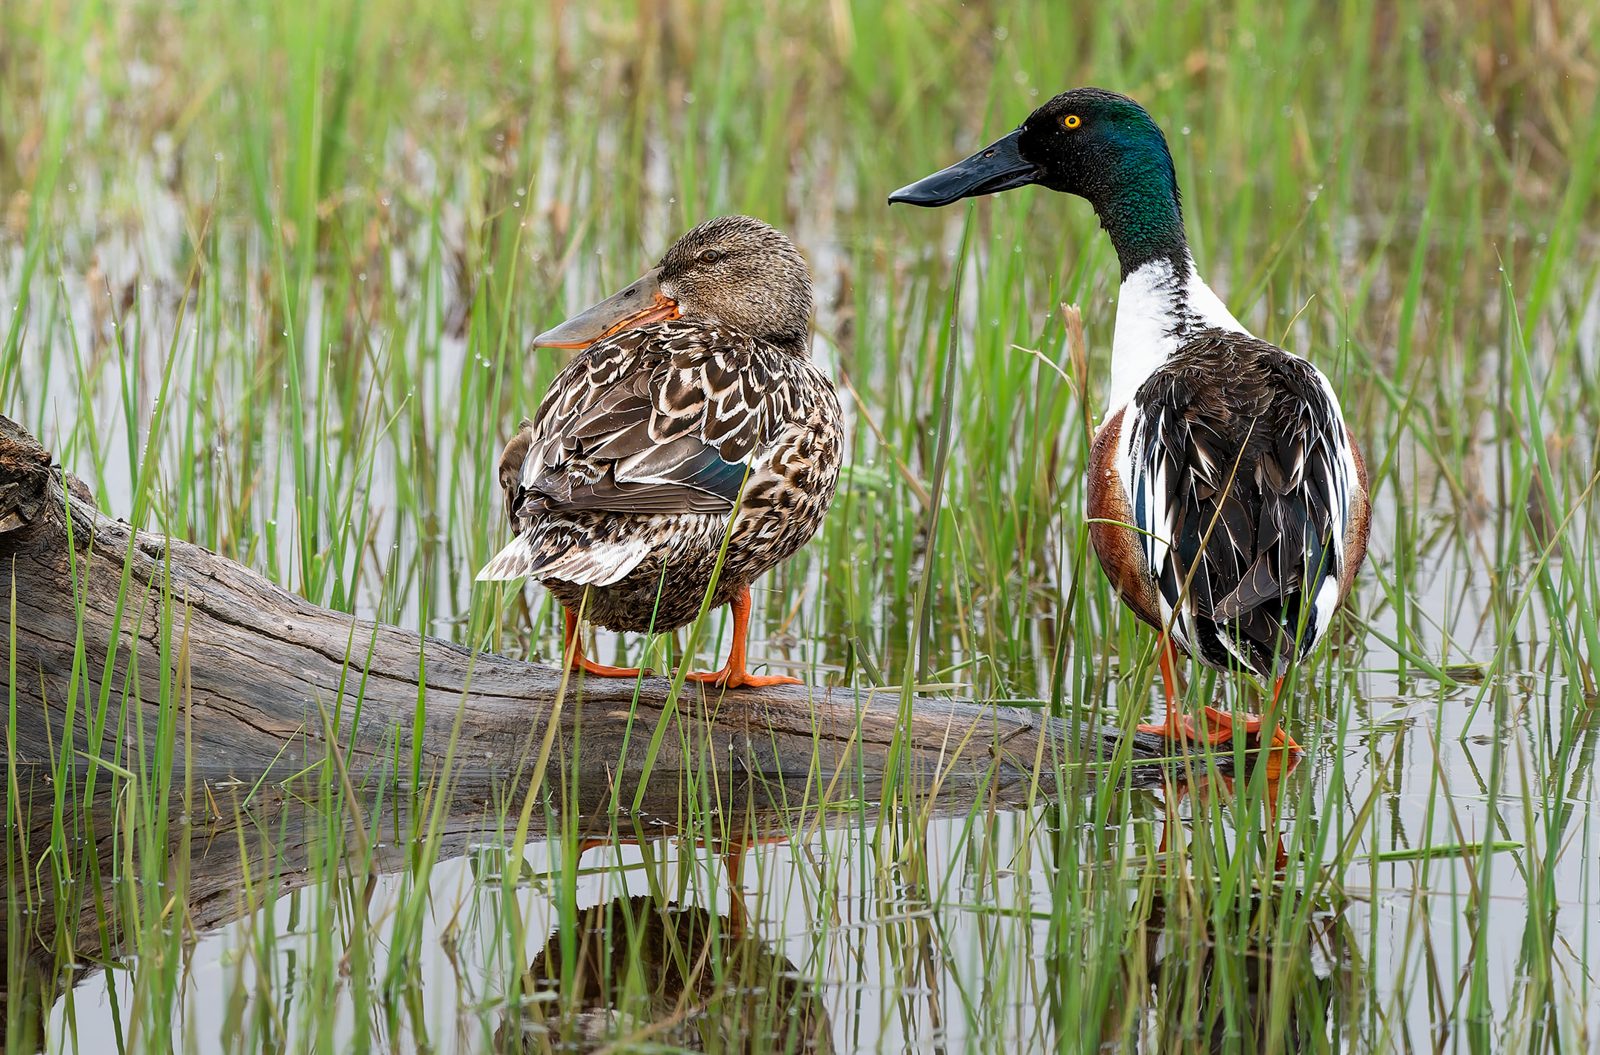
Manitoba Bird Photography Gear: What You Need and What to Skip
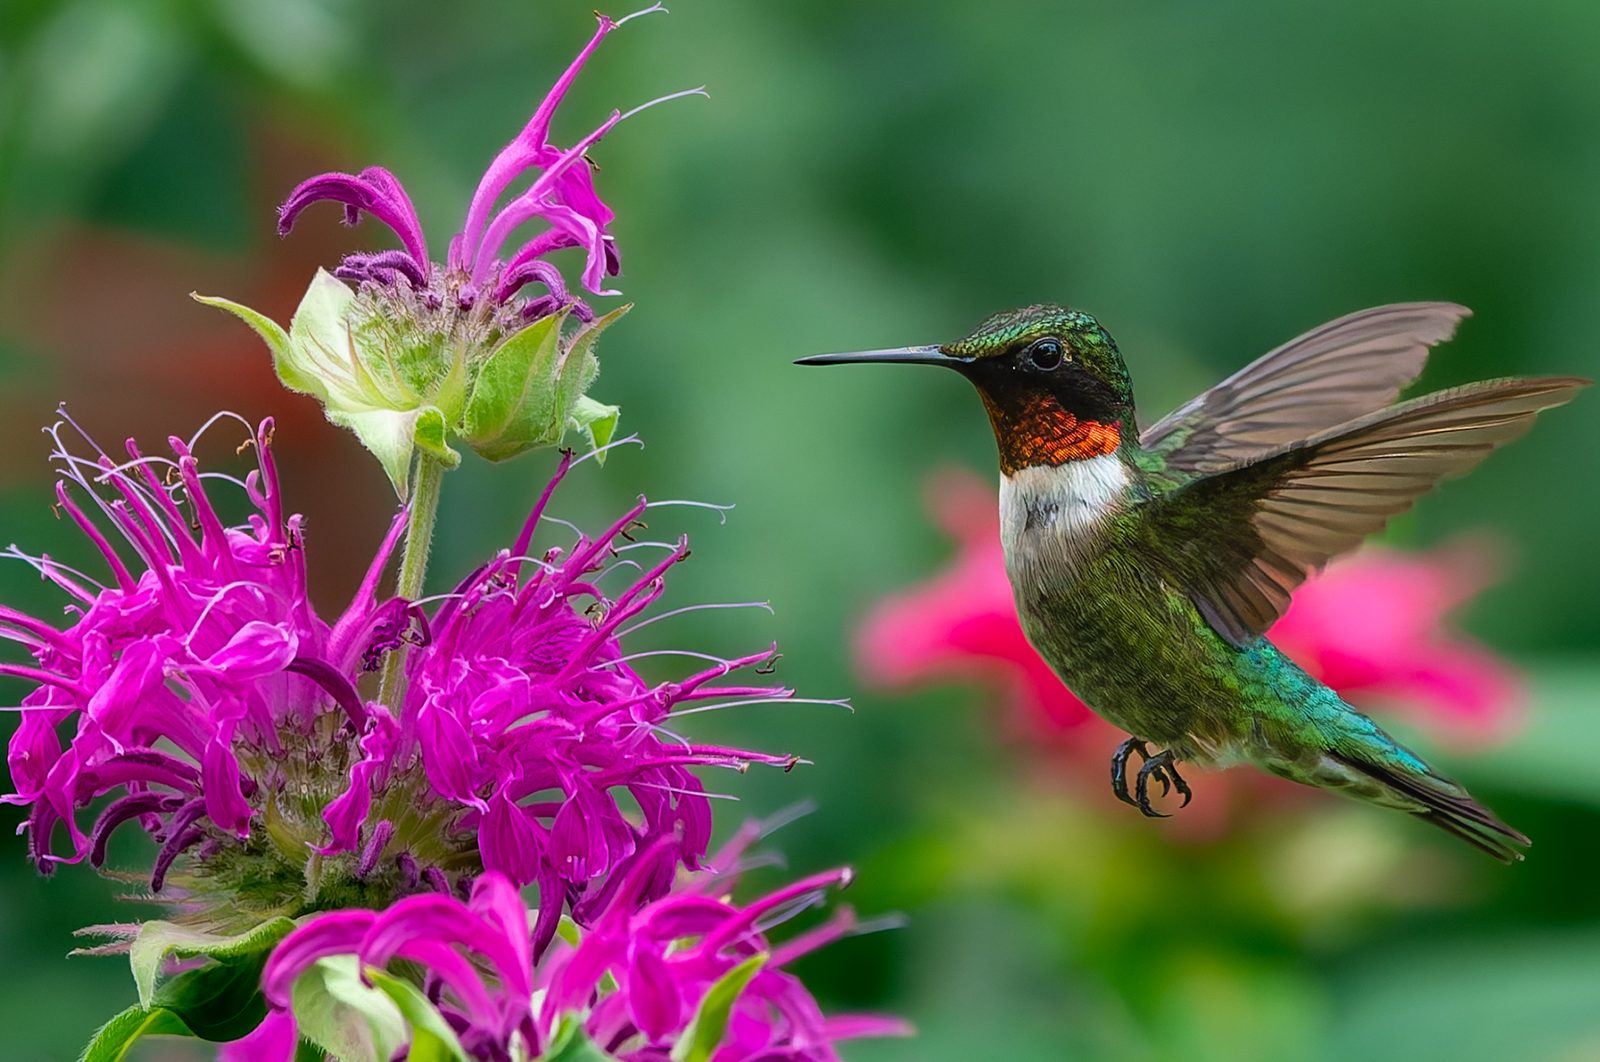
Good Manitoba bird photography gear does not have to cost five figures. Reach and good autofocus matter most, and you can get both at almost any budget.
However, walk into a camera store and you will be told otherwise. I am a Manitoba bird photographer, and the province gives you plenty to practise on: migrating waterbirds filling the wetlands, songbirds on prairie fence posts, quiet boreal forest, and hummingbirds in the garden. In this article I walk through what you actually need at each level, and where spending more really pays off.
You can see the results in my Manitoba bird photography collection.
The Five Things That Matter
Birds are small, far away, and fast, so all of your Manitoba bird photography gear should serve these five goals. The first three are about your gear. The last two are about you:
- Reach. You need to fill the frame without getting close enough to scare the bird away.
- Autofocus speed and tracking. A sharp image of a moving bird depends on the camera and lens locking on and staying there.
- Light gathering. Early morning and late evening are the best times to shoot, and they are also the darkest. Manitoba’s big prairie skies give you wonderful light, but you have to be out early to catch it.
- Patience. Birds do not perform on schedule, so finding the right spot and waiting for the moment is half the work.
- A sense of wonder. The best bird photos come from someone who is still amazed to see the bird. Stay curious and the rest follows.
Otherwise, everything else is a bonus.
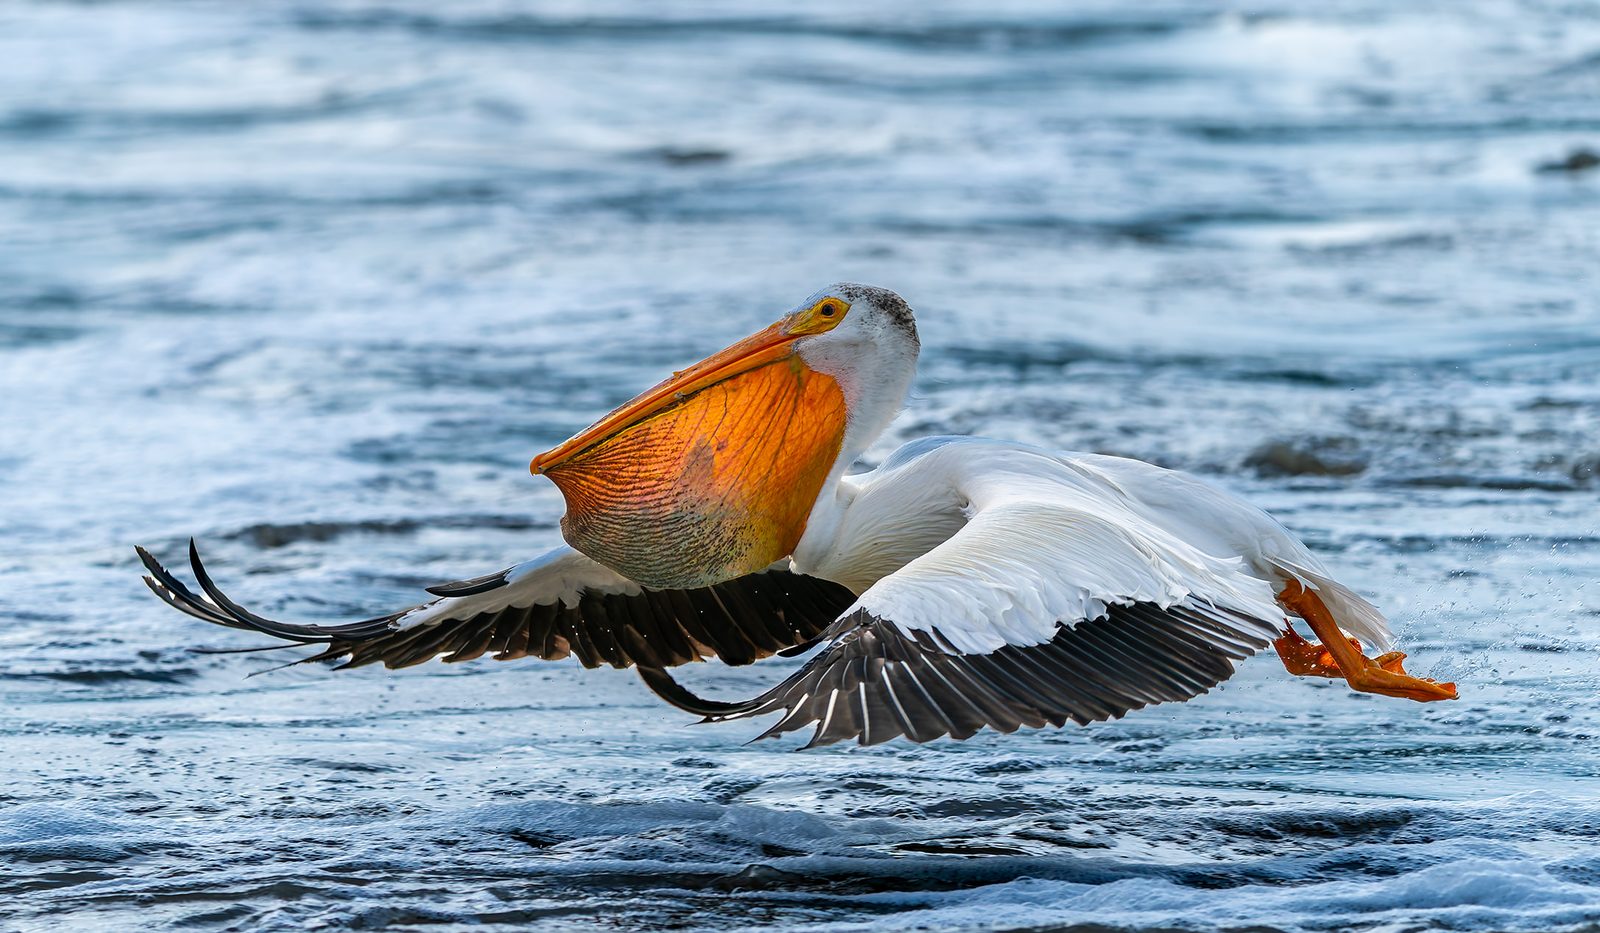
The Camera Body
Look for three features in a body for birds:
- Subject-tracking autofocus that recognizes birds. It makes a huge difference with small subjects against busy backgrounds.
- Fast continuous shooting, so you can capture wing positions in a sequence.
- A good buffer, so the camera keeps shooting through a long burst.
Budget: For Manitoba bird photography gear on a budget, a used or older mirrorless body with decent tracking will serve you well. Recent bodies have much better bird-detection autofocus, so if you are buying new on a modest budget, look at the mid-range models from the last few generations.
Higher budget: Current flagship bodies offer the best subject recognition and tracking available. As a result, the difference shows up in your keeper rate on flying birds.
Manitoba Bird Photography Gear: The Lens Is Where the Money Goes
The lens is the most important piece of Manitoba bird photography gear, and for most people the sweet spot is a long telephoto zoom. A zoom lets you frame a bird at 400mm when it lands close, then reach out to the long end when it does not.
Entry level, roughly $1,700 to $2,100 CAD. Third-party zooms such as the Sigma and Tamron 150-500mm and 150-600mm. They are light, versatile, and a good way to find out whether you enjoy this. However, the tradeoffs are slower autofocus and somewhat softer results at the long end.
Mid-range, roughly $2,500 to $2,600 CAD. Sony’s 200-600mm f/5.6-6.3. It has sharp, reliable autofocus and an internal zoom, and it takes teleconverters. For these reasons, it is the lens I would point most people toward.
Higher budget, roughly $4,100 CAD. Sony’s 400-800mm f/6.3-8. It reaches 800mm with no teleconverter and no swapping, which is a real advantage for small or distant birds. The catch is aperture: at 800mm you are at f/8. That matters far less than it used to, because newer cameras handle noise much better than DSLRs did and you can push ISO much farther.
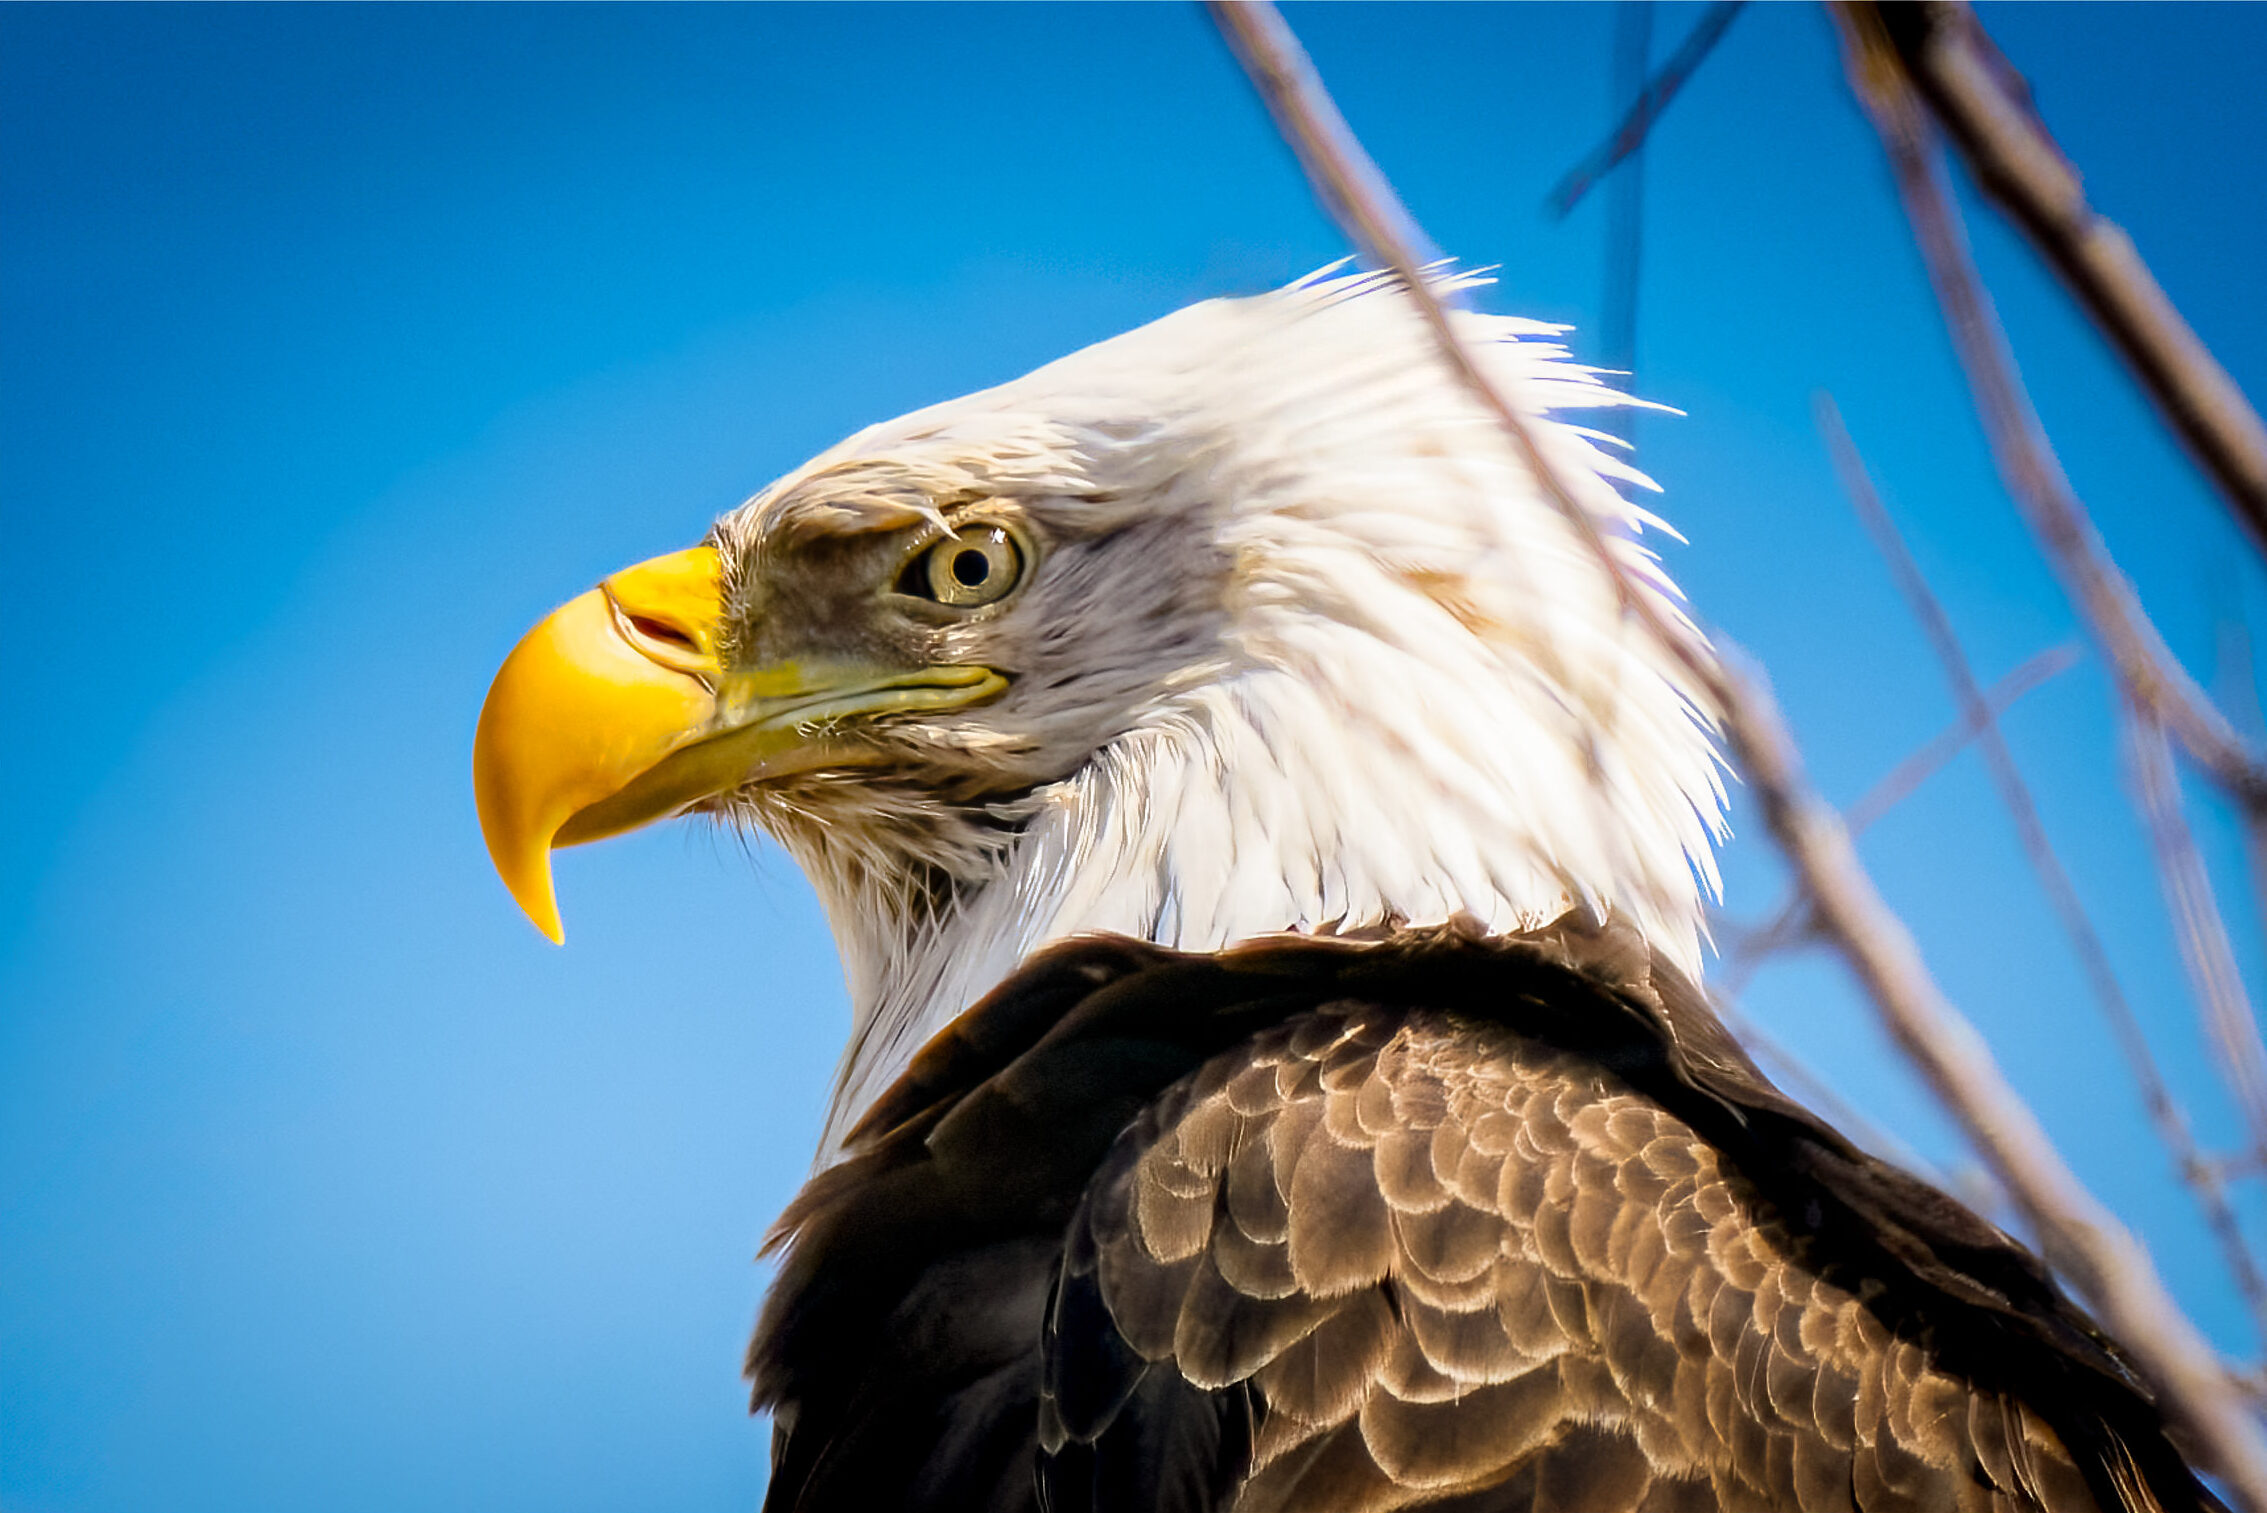
My setup: I shoot a Sony a9 II, whose stacked sensor and blackout-free electronic shutter were built for action, with Sony 200-600mm and 400-800mm zooms, typically shooting at 600mm or 800mm.
Why aperture matters
Both zooms are slow at the long end, so in early morning or heavy overcast you will be pushing ISO. That is much less of a problem than it was in the DSLR days because newer cameras handle noise far better. Also, noise reduction in post-processing cleans up what is left, so you can push ISO much farther than you could then. I am comfortable going up to ISO 12,800 for the aperture, though I prefer 6400 or less.
A word on teleconverters
A teleconverter is a cheap way to add reach. A 1.4x takes the 200-600mm to about 840mm at the cost of one stop of light, and it works with the 400-800mm too. I use a 1.4x from time to time, but it slows down focusing, so be prepared to focus manually for sharpness.
Support: Handheld, Monopod, or Tripod
Manitoba bird photography gear gets heavy, and holding a long zoom up for hours is hard on your arms. You have a few ways to take the weight off.
- Budget: A sturdy monopod takes the weight off your arms while keeping you mobile.
- Higher budget: A carbon-fibre tripod with a gimbal head lets a heavy lens swing smoothly to follow a moving bird.
- Alternative: Many photographers shoot from a vehicle with a window mount or beanbag. It is cheap, it works well, and birds often tolerate a car much better than a person on foot.
I handhold most of the time. It gets heavy, but I find it lets me pivot better for birds in flight. I do use a tripod with a gimbal head, and a monopod, as necessary, but less often.
The Small Stuff in Your Manitoba Bird Photography Gear Bag
- Fast memory cards. Burst shooting fills the buffer quickly and slow cards stall it. Look for UHS-II SD cards or CFexpress, depending on your body.
- Spare batteries. Cold drains them fast, which matters on a Manitoba winter morning and on a frosty spring or fall morning during migration.
- Lens hood and rain cover. Both are cheap and protect your Manitoba bird photography gear in bad weather.
- A comfortable strap or harness. You will notice it after a long day.
- A hand strap on the camera. It helps hold the camera in place, and it helps a lot when you handhold.
- eBird. It is free, and it shows what has been seen where and when, so you can learn a species’ habits and find new birds to photograph. Also, check the Manitoba hotspots on eBird before you head out.
What you can skip for now
A second camera body, expensive filters, and a pile of accessories you have not yet needed. Instead, learn the basics first.
The One Thing You Cannot Buy: Patience
Every kit in this article has one thing in common: none of it works without patience. It will not appear on any list of Manitoba bird photography gear, and it changes your results more than any lens.
Patience to find the place. Manitoba’s wetlands, prairie edges, and boreal forest each hold different birds, and the right location is rarely the first one you try. Go back to the same spot at different times of day and in different seasons, and you learn where birds feed, rest, and travel.
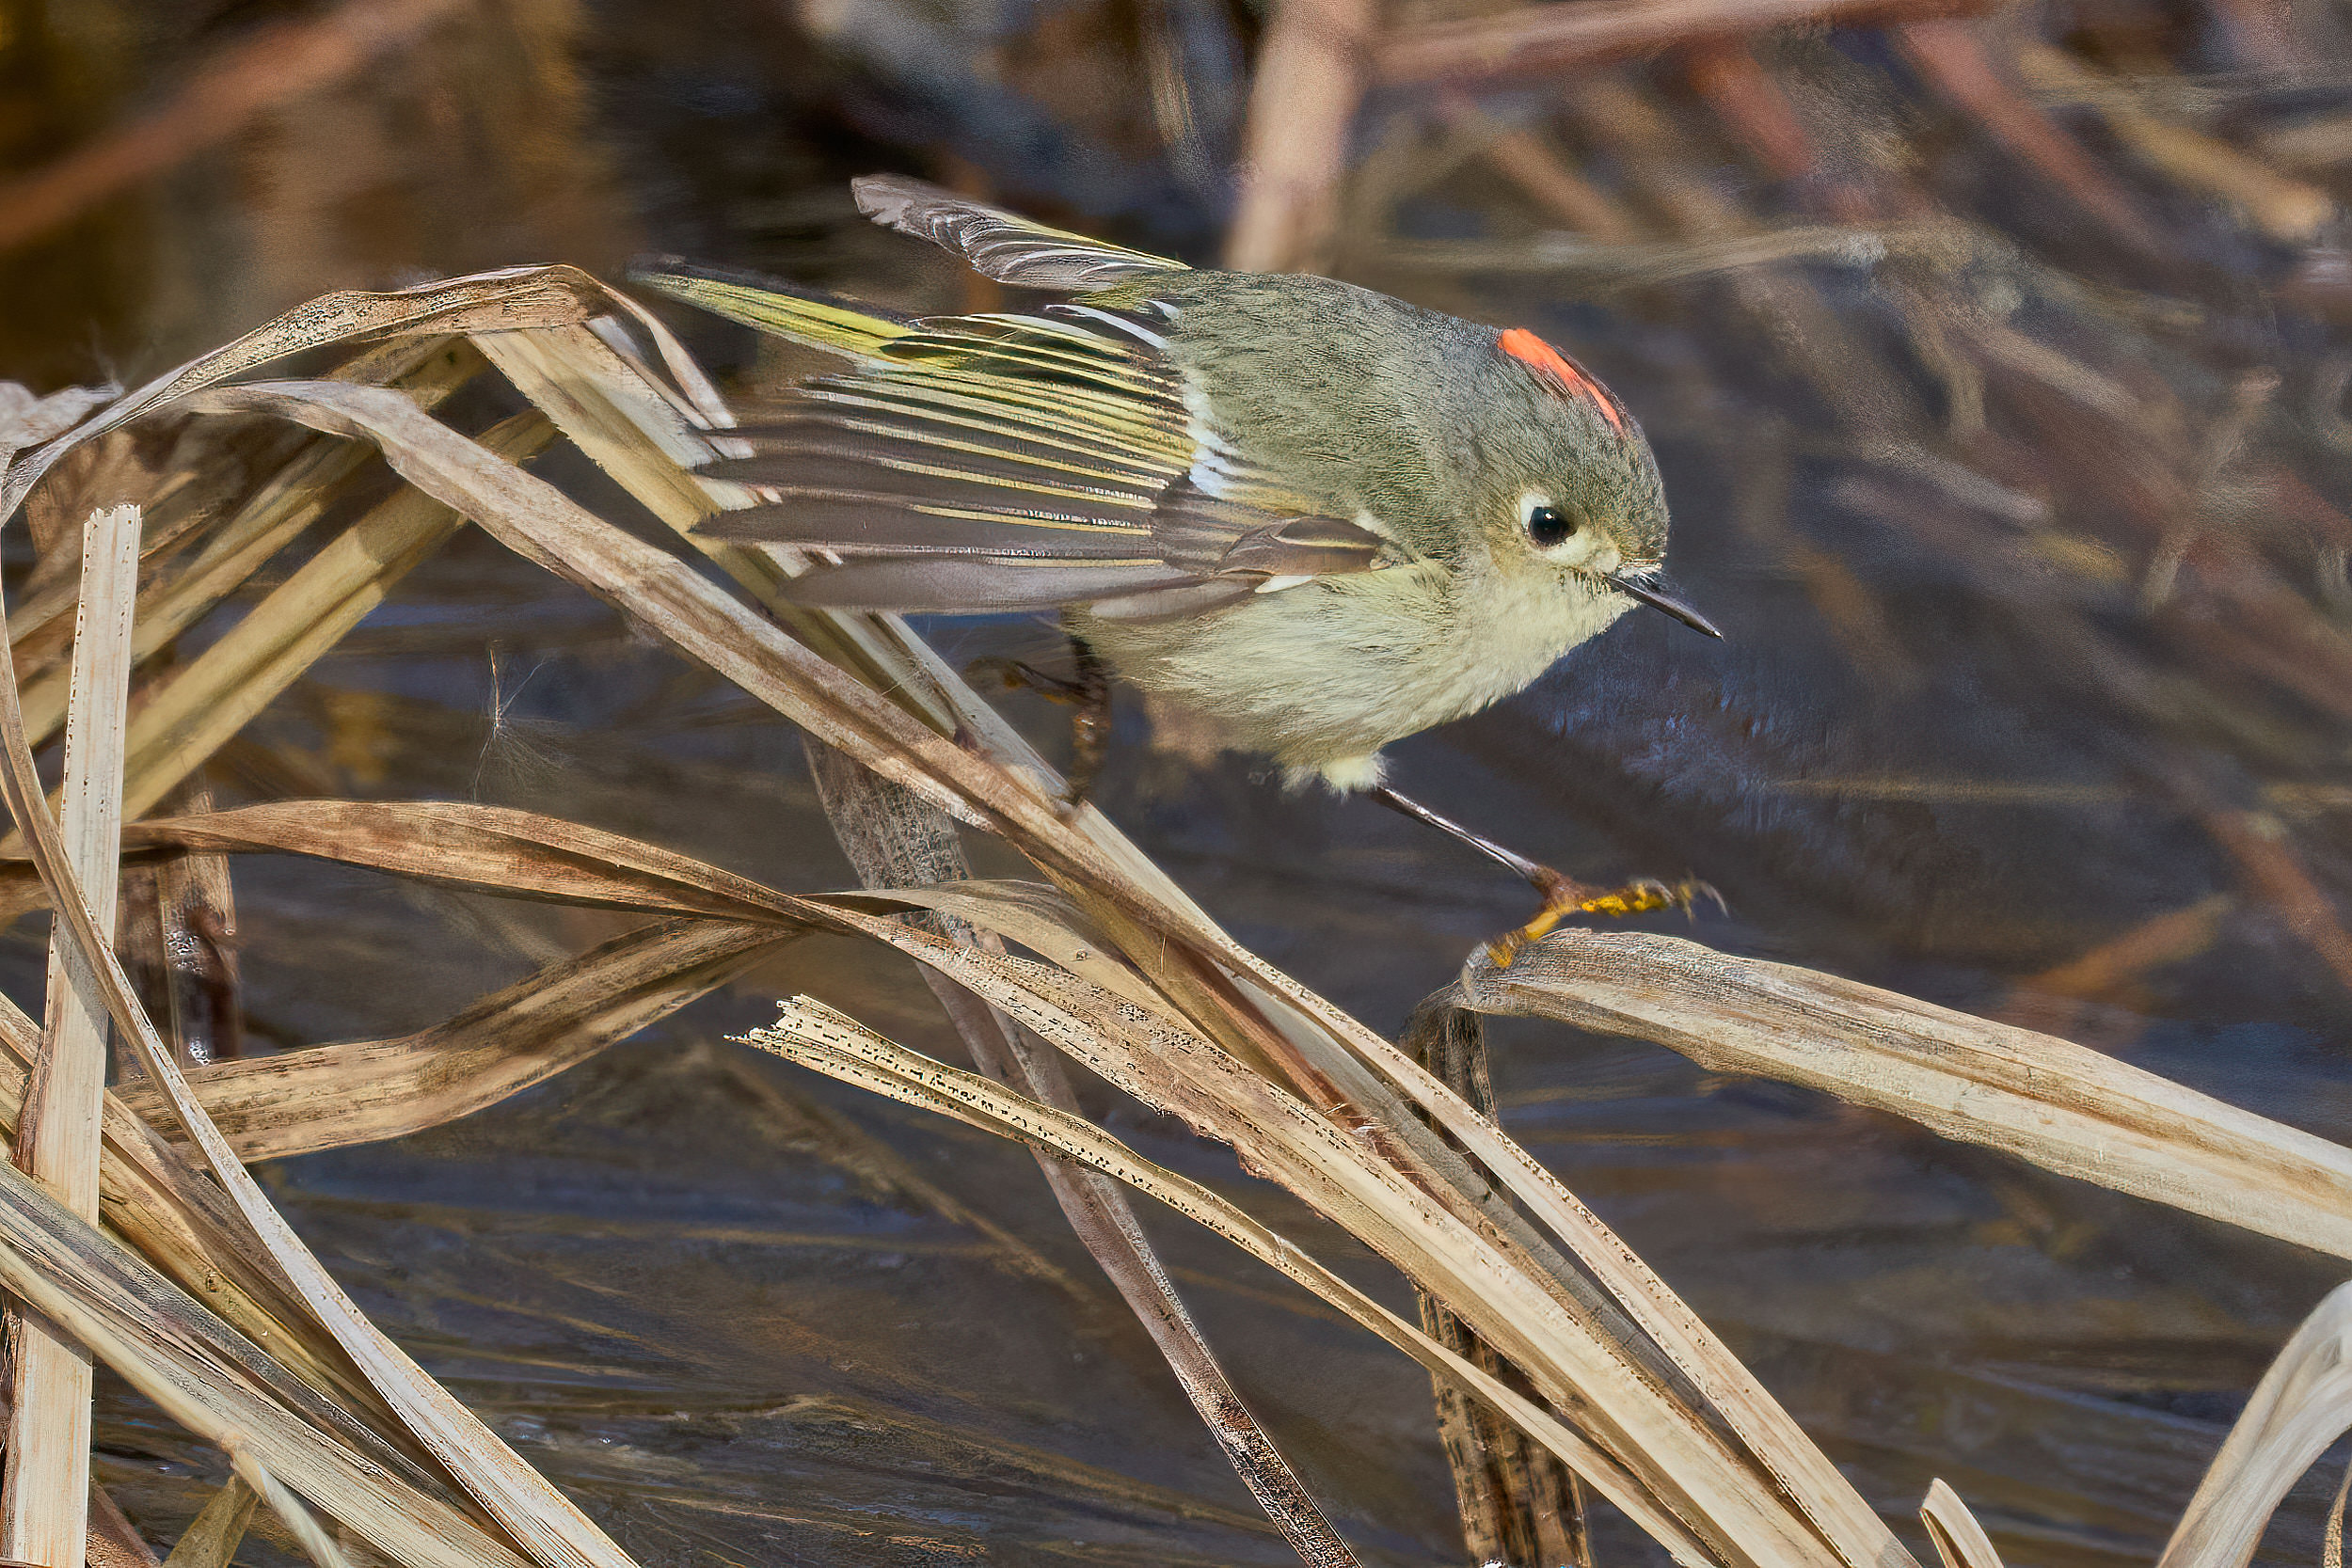
Patience for the moment. A bird sitting still is a portrait, but a bird showing something that belongs to its species is a photograph worth keeping. The ruby-crowned kinglet is the classic example: its ruby crown stays hidden most of the time and flashes only when the bird is excited or agitated. Leave a minute too early and you go home without it, no matter what you paid for your lens.
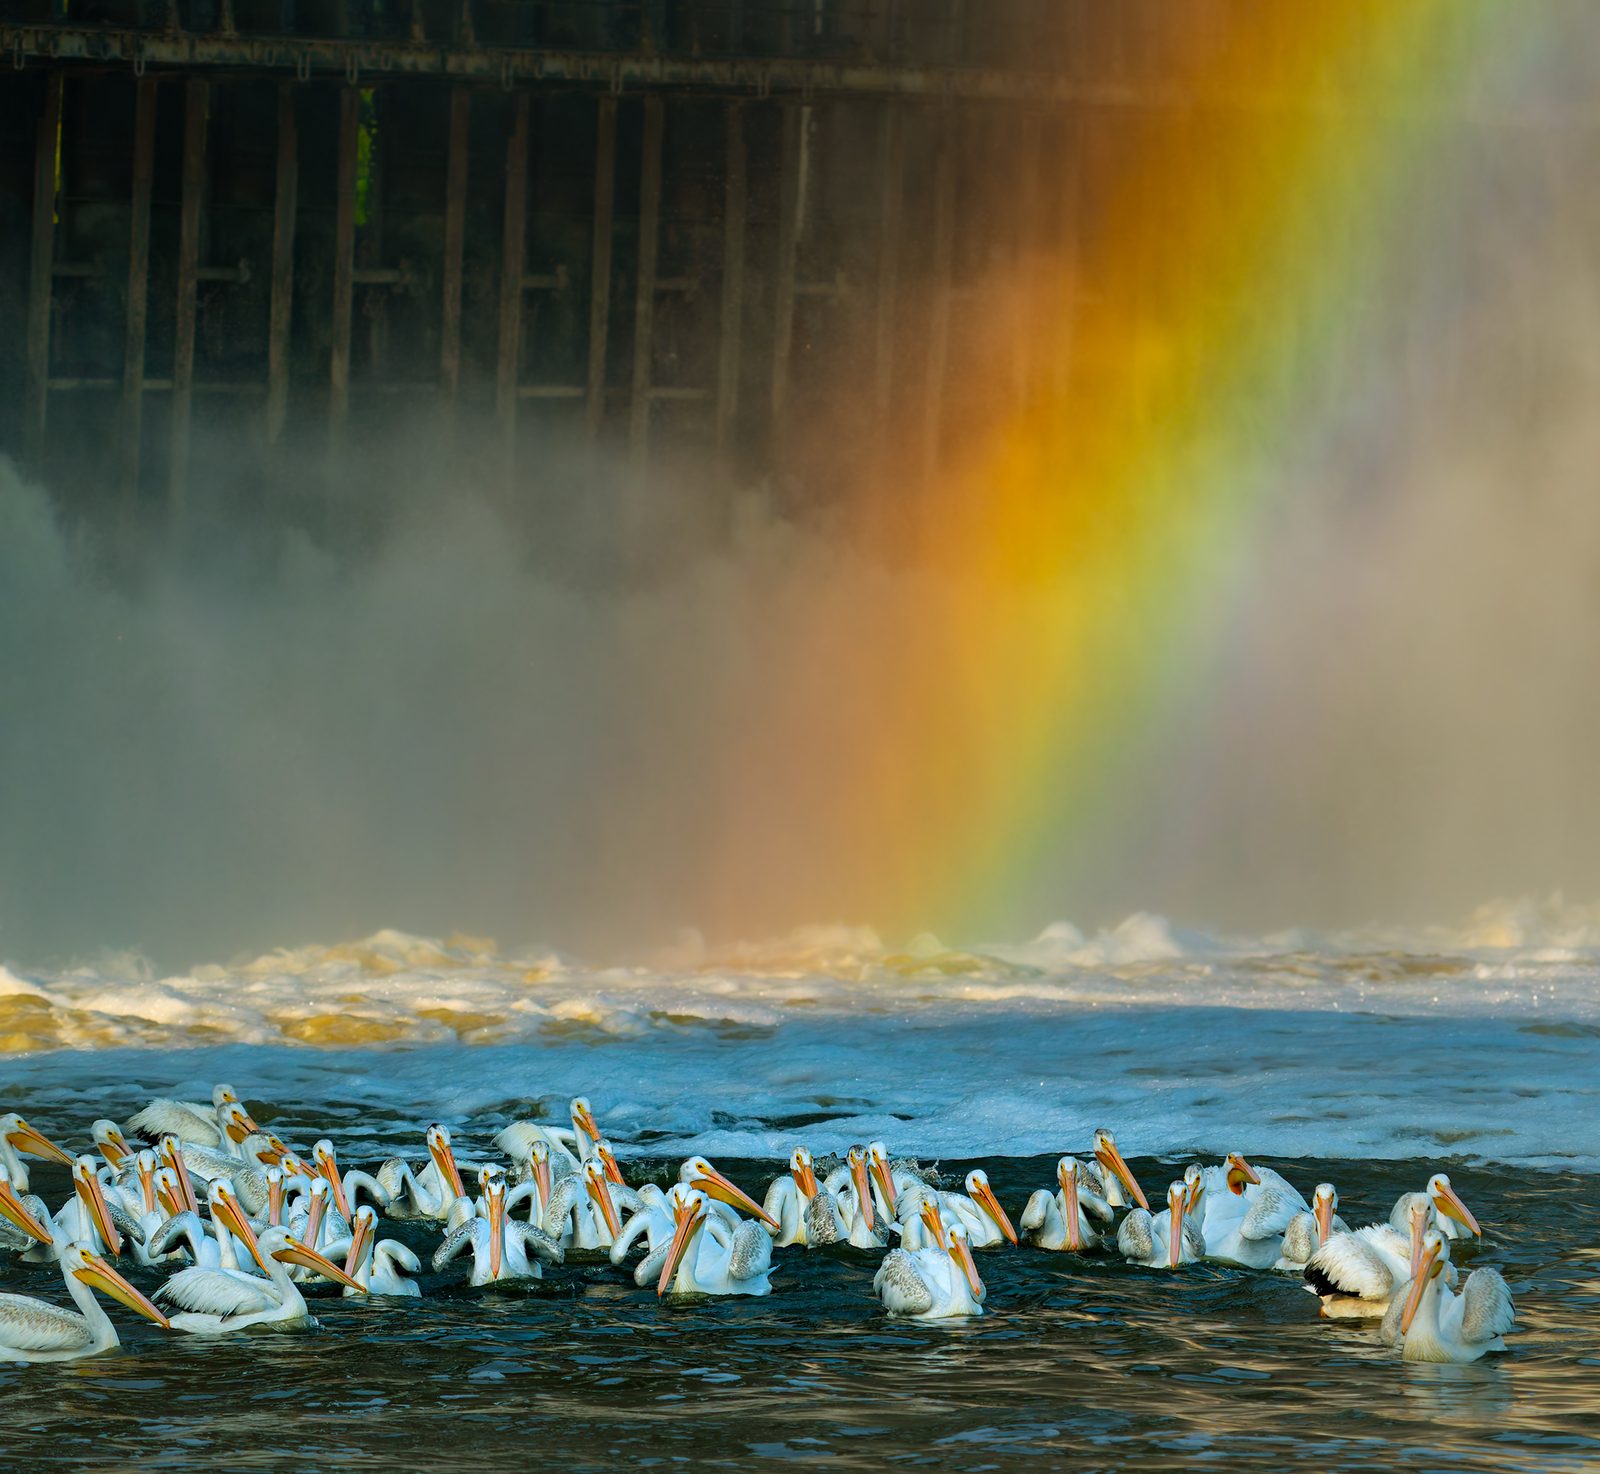
Patience for the light. The same bird on the same branch looks completely different when the sun breaks through a cloud or moves a few degrees. Wait for the light to find the eye, then press the shutter. My rainbow shot at Lockport, Manitoba is an example. I had to wait for the water levels to rise and for the locks to open to create the spray, then visit as the sun rose to create the rainbow effects in the spray.
Bird Photography Gear Guide: Three Sample Kits
Entry level
Starter
Light, affordable, and enough to find out if you love this.
Body
Used or older mirrorless with bird tracking
Lens
150-600mm third-party zoom
Support
Monopod
Lens budget: roughly $1,700 to $2,100 CAD
The sweet spot
Enthusiast
Sharp, reliable autofocus, and the lens I would point most people toward.
Body
Recent mid-range body
Lens
Sony 200-600mm
Support
Monopod or tripod with gimbal head
Lens budget: roughly $2,500 to $2,600 CAD
Higher budget
Long-reach
800mm with no teleconverter, for small or distant birds.
Body
Sony a9 II or current flagship
Lens
Sony 400-800mm
Support
Tripod with gimbal head
Lens budget: roughly $4,100 CAD
Manitoba Bird Photography Gear: Your Questions Answered
What lens do I need for bird photography?
Reach matters most, so a long telephoto zoom is the sweet spot for most people. The Sony 200-600mm is the lens I would point most people toward, while the Sony 400-800mm gets you closer to small or distant birds. Anything under 500mm makes it tough to get close without scaring the bird away.
Is the Sony 200-600mm good for birds?
Yes. It has sharp, reliable autofocus and an internal zoom, and it takes teleconverters. A 1.4x takes it to about 840mm, though it slows down focusing.
What ISO is too high for bird photography?
It depends on your camera, but newer cameras handle noise much better than DSLRs did, and noise reduction in post-processing cleans up what is left. I am comfortable going up to ISO 12,800 for the aperture, though I prefer 6400 or less.
Do I need a tripod for bird photography?
Not always. I handhold most of the time. It gets hard, but it lets me pivot better for birds in flight. I use a tripod with a gimbal head, and a monopod, as necessary, but less often.
Final Thought
The best Manitoba bird photography gear is the kit you will take outside on a cold morning. Start with what you can afford, learn how it behaves, and upgrade only when you can name the specific thing it is holding you back from. And bring patience, because it is the one piece of kit you cannot buy.
Next week: exposure, and how to choose aperture, shutter speed, and ISO for birds that do not sit still.