Autofocus for Bird Photography: Settings That Keep the Bird Sharp
Good autofocus for bird photography comes down to one idea: tell the camera exactly which bird to follow, and keep it following. Birds are small, fast, and usually surrounded by branches, reeds, and grass, so default settings will happily focus on the clutter instead of the bird.
This article covers the autofocus lessons I have learned shooting birds in Manitoba: marsh edges, open water, and tree lines. It builds on my guides to Manitoba bird photography gear and exposure for bird photography. Exposure freezes the bird, and autofocus decides whether the frozen bird is sharp.
Autofocus for Bird Photography Starts With Continuous AF
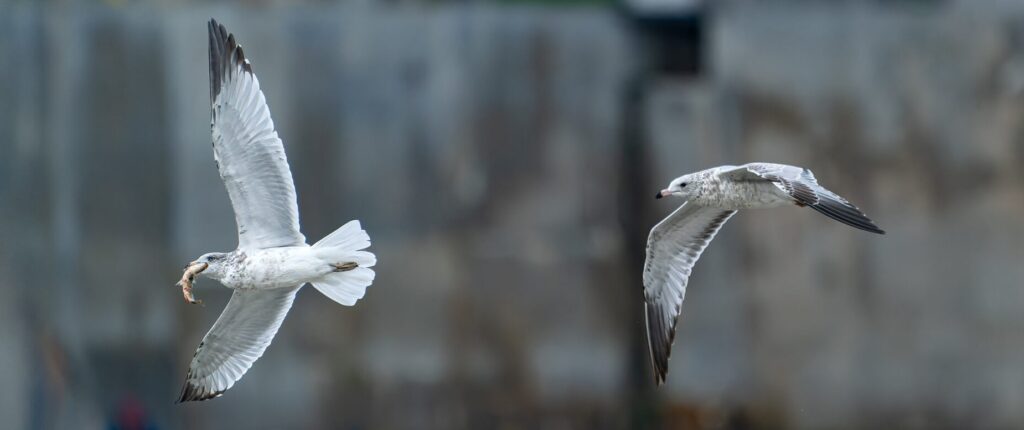
Set the camera to continuous autofocus (often labelled AF-C). Single-shot autofocus locks once and stops, which is fine for a bird that never moves and useless for the rest. Continuous autofocus keeps adjusting while you hold the button, so a bird that shifts toward you, turns, or takes off stays sharp.
Focus Area: Small for Perched Birds, Wider for Flight
The focus area tells the camera where to look, and it is the setting that matters most. A big area is easy to use but easy to fool, and a small area is precise but takes practice. These are the three that matter most:
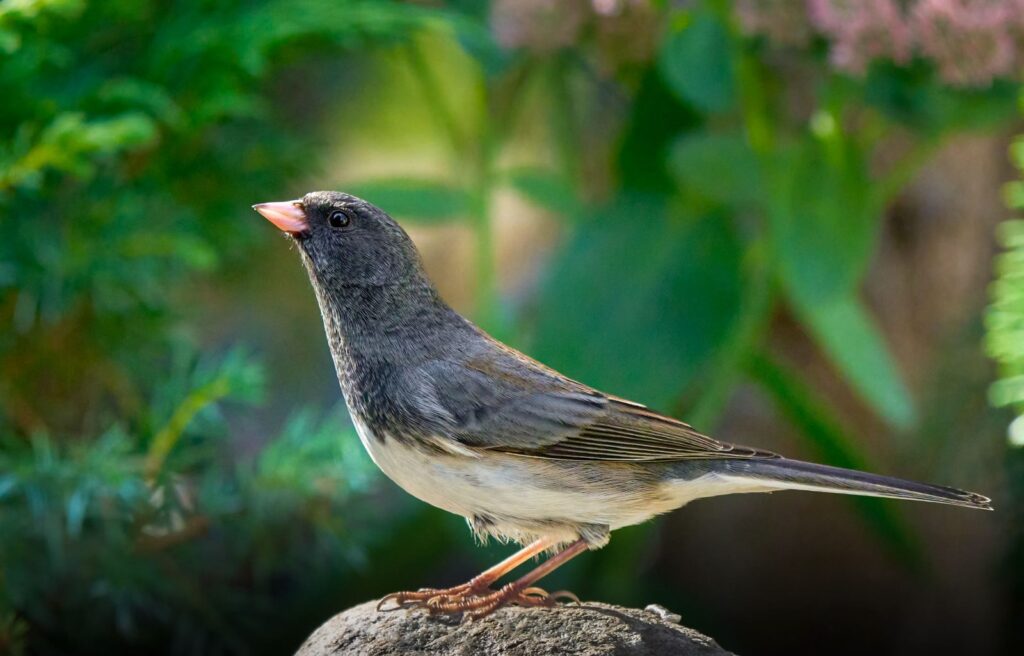
Back-Button Focus Keeps the Camera on the Bird
Back-button focus is one of the most useful habits in bird photography. By default, the shutter button both focuses and fires, so every press makes the camera focus again, and it may choose the branch you just swung past. Back-button focus moves autofocus to a separate button on the back of the camera (often labelled AF-ON), so the shutter button only takes the picture.
Your thumb focuses and follows the bird while your index finger waits for the moment. You can also release the button to lock focus and recompose, and the camera will not refocus when you press the shutter. It feels odd for a day or two and then you will not want to go back.
Always Aim for the Eye
Whatever the bird is doing, put the focus on its eye. A sharp eye makes a photo feel sharp, and a soft eye ruins it even if the rest of the bird is crisp.
When you are using a single, small focus point, use the center point. On most cameras it is the fastest and most sensitive point, so it locks on quicker than the points toward the edge of the frame.
That leaves the question of composition, because the eye is rarely in the middle of the frame. The answer is focus and pivot, and it works best with back-button focus:
- Place the center point on the bird’s eye.
- Press and hold the back button to focus.
- Keep holding it, and pivot the camera to the composition you want.
- Press the shutter. Focus stays where you set it until you let go of the back button.
With the shutter button no longer controlling focus, you can pivot and shoot as many frames as you like without the camera refocusing on whatever is now under the point.
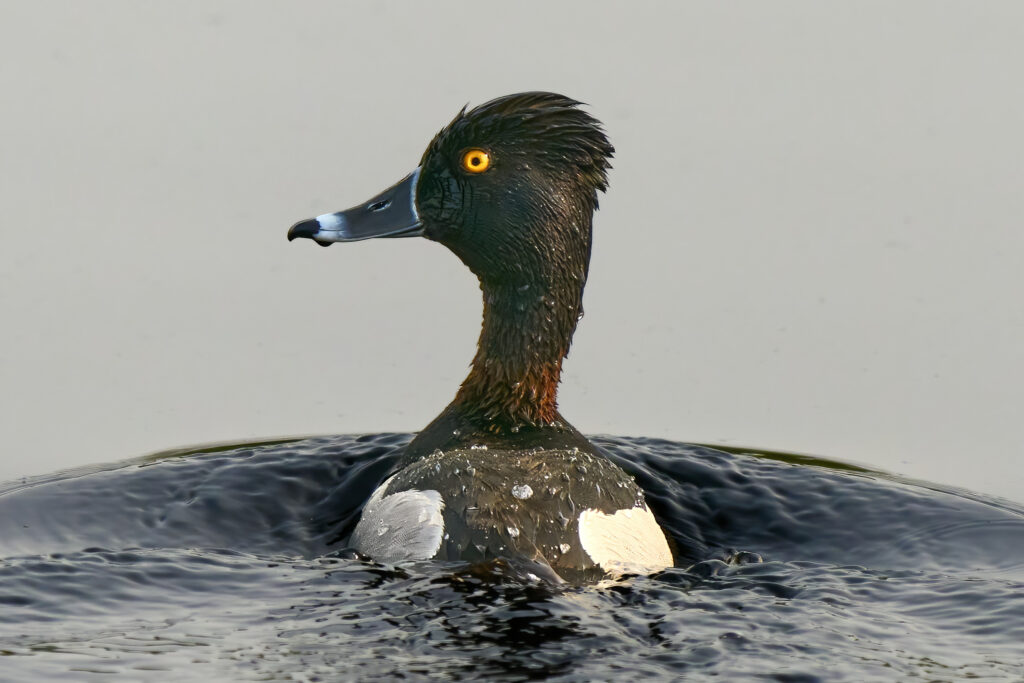
Custom Buttons: Jump From Spot to Zone in a Moment
Birds do not announce a change. A bird that has been sitting still for ten minutes can be in the air a second later, and you will not have time to dig through a menu. So assign a custom button on the back of the camera to jump between the two focus areas: a small spot for a still bird, and a wider zone for a bird in flight.
The routine looks like this. Start on the spot and place it on the eye of the perched bird. If the bird launches, press the custom button to jump to the wider zone and follow it. When it lands, press the button again and you are back on the spot. Once your thumb knows where the button is, the swap becomes automatic, and you spend your attention on the bird.
Why Your Camera Locks Onto the Branch
Autofocus looks for contrast and the nearest detail, and a thin twig in front of a bird has plenty of both. If your photos keep coming back sharp on the branch and soft on the bird, work through these in order:
- Shrink the focus area. Move from a wide area to a small spot so the camera has fewer things to choose from.
- Put the spot on the eye or the head. Not the body, and never the branch.
- Wait for a gap. This is where patience pays off. Waiting for the bird to look the right way, or move into a clear space, beats any setting.
- Release and focus again. If focus lands on the wrong thing, let go of the button and start again instead of firing and hoping.
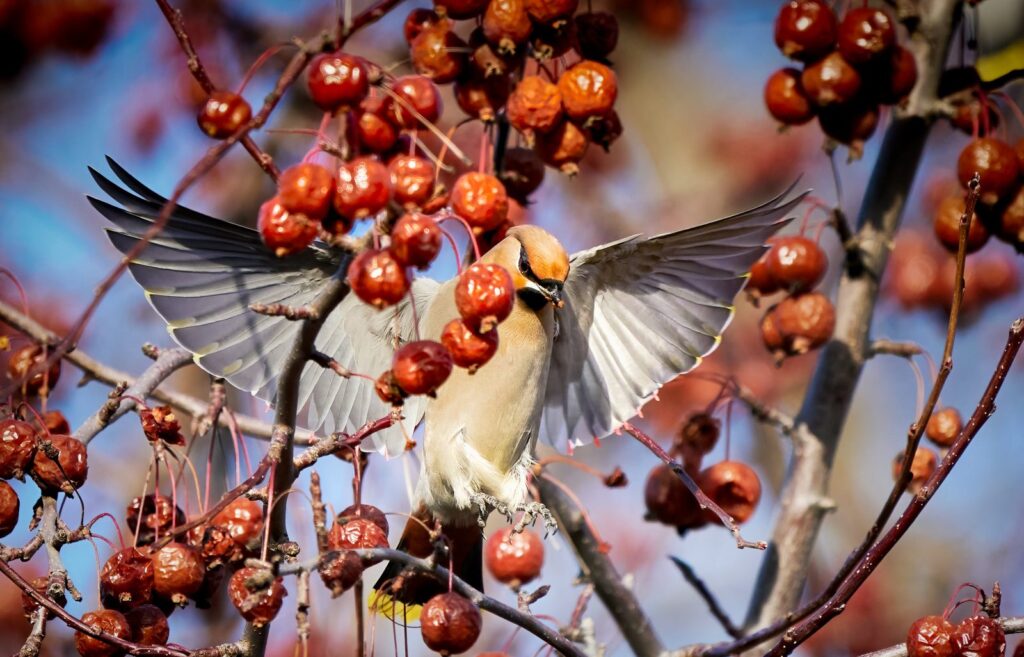
Flip to Manual Focus for Stationary Birds
Autofocus is not always the right tool. When a bird is perched and not going anywhere, and autofocus keeps hunting or grabbing the branch in front, flip the camera to manual focus and do it yourself. A still bird gives you the time, and manual focus lets you put sharpness exactly on the eye.
Two mirrorless features make this far easier than it used to be:
- Automatic zoom while you focus. Most mirrorless cameras can magnify the image automatically as soon as you turn the focus ring (often called MF Assist or focus magnifier). Set it up once and the view jumps in on the bird, so you can judge fine focus on the eye instead of guessing.
- Focus peaking. Peaking paints a coloured highlight over the edges that are in focus, so you can see exactly where the sharp part of the shot is. Pick a peaking colour that stands out against the bird and background.
The routine is simple: flip to manual, turn the focus ring until the image zooms in, then watch the peaking and the eye until they agree. Zoom back out, wait for the bird to look the right way, and take the shot.
Teleconverters and Autofocus
A teleconverter adds reach, but it slows focusing and can make autofocus hunt. It is a real help when a bird will not let you close the distance. Be prepared to focus manually for sharpness when autofocus starts hunting, especially in low light.
Winter and Hot Day Tips: Temperature and Focus
Temperature can ruin focus without you noticing. A big temperature difference between your gear and the air creates shimmer, and shimmer shows up as soft, distorted frames that no focus setting will fix. It happens on hot days with heat rising off the ground and on cold days when a warm camera meets freezing air. These habits help in both seasons:
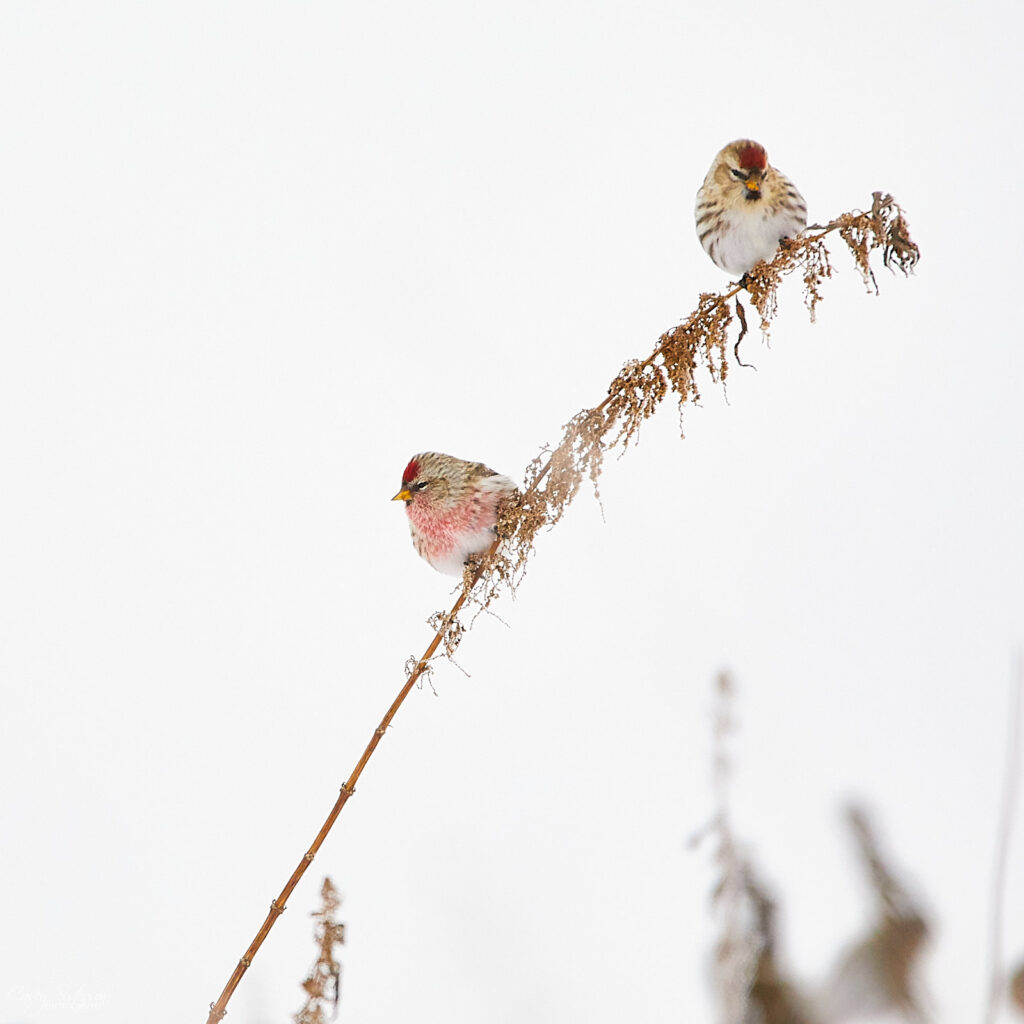
- Keep the lens hood off. A hood can hold a pocket of air at a different temperature right in front of the glass, so take it off when the air is hot or very cold.
- Expect to use more manual focus. Autofocus struggles through shimmer, so use the magnifier and peaking and trust your eye.
- Let the camera match the environment. Give it time to reach the outside temperature instead of pulling it straight out of a warm house or car.
- If you shoot from a vehicle, match the outdoors. Keep the vehicle cooler in winter and warmer in summer, so the camera and the air in front of the lens are not far apart in temperature.
A Starting Point for Autofocus for Bird Photography
Autofocus for Bird Photography: Your Questions Answered
What is the best autofocus mode for birds?
Use continuous autofocus (often labelled AF-C). It keeps adjusting focus while you hold the button, so birds that move toward you, turn, or take off stay sharp.
What focus area should I use for birds in flight?
Use a wider zone. A larger box makes it easier to keep a fast bird inside the focus area. Use a small spot for perched birds, and assign a custom button so you can jump between the two.
What is back-button focus?
Back-button focus moves autofocus from the shutter button to a separate button on the back of the camera, often labelled AF-ON. The shutter button only takes the picture, so the camera does not refocus every time you press it.
How do I switch focus areas quickly when a bird takes off?
Assign a custom button on the back of the camera to jump between a small spot and a wider zone. One press switches from perched to flight, so you never need a menu.
Why does my camera focus on the branch instead of the bird?
Autofocus favours contrast and nearby detail, and a twig in front of a bird has plenty of both. Use a smaller focus area, put it on the eye or head, and wait for a clear gap.
When should I switch to manual focus for birds?
Switch to manual focus when the bird is stationary and autofocus keeps hunting or grabbing the branch in front. Turn the focus ring so the camera zooms in automatically, and use focus peaking to confirm the eye is sharp.
Why are my bird photos soft on very hot or very cold days?
A big temperature difference between your gear and the air makes heat shimmer, which softens the image. Take the lens hood off, let the camera match the outside temperature, and use more manual focus.
Final Thought
Keep the camera on continuous autofocus, move focus to your thumb, and make the swap from spot to zone a one-press habit. Once autofocus for bird photography becomes instinct, you can spend your attention on the bird.
The Complete Bird Photography Series
Twelve articles in three parts. Each one is linked here as soon as it is released.
Part 1: Foundations
- Your First Bird Photography Kit
- Exposure for Birds
- Autofocus Basics (this article)
Part 2: Fieldcraft
- Finding Birds
- Approaching Birds
Part 3: Technique
- Working With Light
- Composition Basics
- Backgrounds and Subject Separation
- Birds in Flight, Part 1
- Birds in Flight, Part 2
- Behaviour and Anticipation
- Tricky Situations in the Field
Next in the series: Part 4 covers finding birds, including habitat, time of day, seasons, and using eBird to know where to go.